
Setup Android Studio and Emulator on Fedora Linux
- Posted on: August 27, 2026
Ok, so... this whole mess started because I thought I something was simple but in fact UTTERLY didn't understand what I was getting into.
For context: I recently ditched Apple in favour of Linux and... boy I wasn't ready.
And I'm a developer!
So I wanted to carry on my mobile development work, which I thought it'd be simple. I just install Android Studio, get the emulators running, proceed to programming, right? And Fedora comes with an "App Store", which lists Android Studio. So I naively open the "Software" app, install the IDE and... BOOM! 🤯
The emulator process for AVD Pixel_9_Pro has terminated.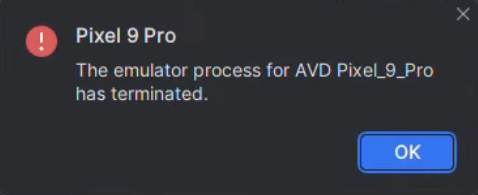
WHY?!?!
So... 2 days and multiple detours later, I discovered that – silly me! – I was trying to debug the error that was presented to me, but that was IN NO WAY related to why things weren't working. I thought it was too little memory, or wrong settings in the AVD, some missing library or BIOS VT-X feature on linux.... but no. It was the fact that I installed the app from the freaking built-in app store! 🥲
For the readers laughing at my mysery right now, the solution to my problems (DO NOT USE IT) would have been this:
# DO. NOT. USE. THIS!
flatpak override --user --device=kvm --filesystem=host com.google.AndroidStudio
That should give you a clue of my issue. Because Flatpak apps run inside a restricted "sandbox," Android Studio is completely isolated from my system. The emulator command line tool inside the sandbox cannot talk to the KVM virtualization hardware on my machine, which causes it to crash instantly. Hence the need for that command to give Android Studio from Flatpak permission to access the host system's virtualization engine.
If you're now thinking "well... that sounds like a mess", I AGREE! So here's what I did and recommend you also do. First of all: NUKE THE FLATPAK VERSION.
Here's the command for that:
flatpak uninstall --delete-data com.google.AndroidStudio -yNow we can reset and do things properly from the beginning. Let's install the native Android Studio and fix the AVD.
The native way
Welcome to my clean, step-by-step instructions to configure an Intel-based x86_64 machine running Fedora for native Android mobile development from the actual scratch.
Step 1: Verify Hardware Virtualization
Firstly we got to ensure the Linux kernel modules for Intel hardware virtualization (kvm_intel) are properly loaded.
lsmod | grep kvmExpected Output: You should see lines containing kvm and kvm_intel. Like this:
kvm_intel             547864  0
kvm                  1567767  1 kvm_intel
irqbypass              16374  1 kvm
Step 2: Configure KVM User Permissions
Next, grant our user direct read/write permissions to the KVM virtualization hardware engine.
sudo usermod -aG kvm $(whoami)⚠️ Important: You must log out of your desktop session completely (or reboot your system) for these group changes to apply.
After logging back in, we can double-check that permissions are correct:
test -w /dev/kvm && echo "Yay: You can use KVM!" || echo "Nope: Permission denied :("...assuming you see the "yay" message, we can proceed. Yay!
Step 3: Install Core System Dependencies
Cool. Now we need to install the crap the IDE needs to work utilities and libraries required by the Android Emulator to render layouts and process system tasks natively.
sudo dnf install -y ncurses-compat-libs libstdc++.i686 glibc.i686 libgcc.i686⚠️ I ran into an error here: The first time I ran this, I got a
Status code: 404 for http://mirror.netzwerge...blah blah blah. The solution was to just run the command again and it showedNothing to do.at the end, meaning I was fine. The 404 error was just DNF skipping a broken mirror and instantly grabbing the file from a working one.
Step 4: Configure the Environment Variables
Cool, but we're devs. We like terminals. So for that to work we must expose the Android SDK location and utility paths to our shell configuration. To do that, append the paths to your shell file:
⚠️ YOU MIGHT HAVE A CUSTOM PATH!!! Change
ANDROID_HOMEaccordingly Also, if you usezsh, just replace~/.bashrcwith~/.zshrc
cat << 'EOF' >> ~/.bashrc

# Android SDK Custom Path Configuration
export ANDROID_HOME=$HOME/Android/Sdk
export PATH=PATH:ANDROID_HOME/emulator
export PATH=PATH:ANDROID_HOME/platform-tools
EOF
Next, reload your current terminal instance to apply the changes immediately:
source ~/.bashrcStep 5: Extract and Launch Android Studio Natively
Almost there!
Now download the official .tar.gz Linux package from the Android Developer website.
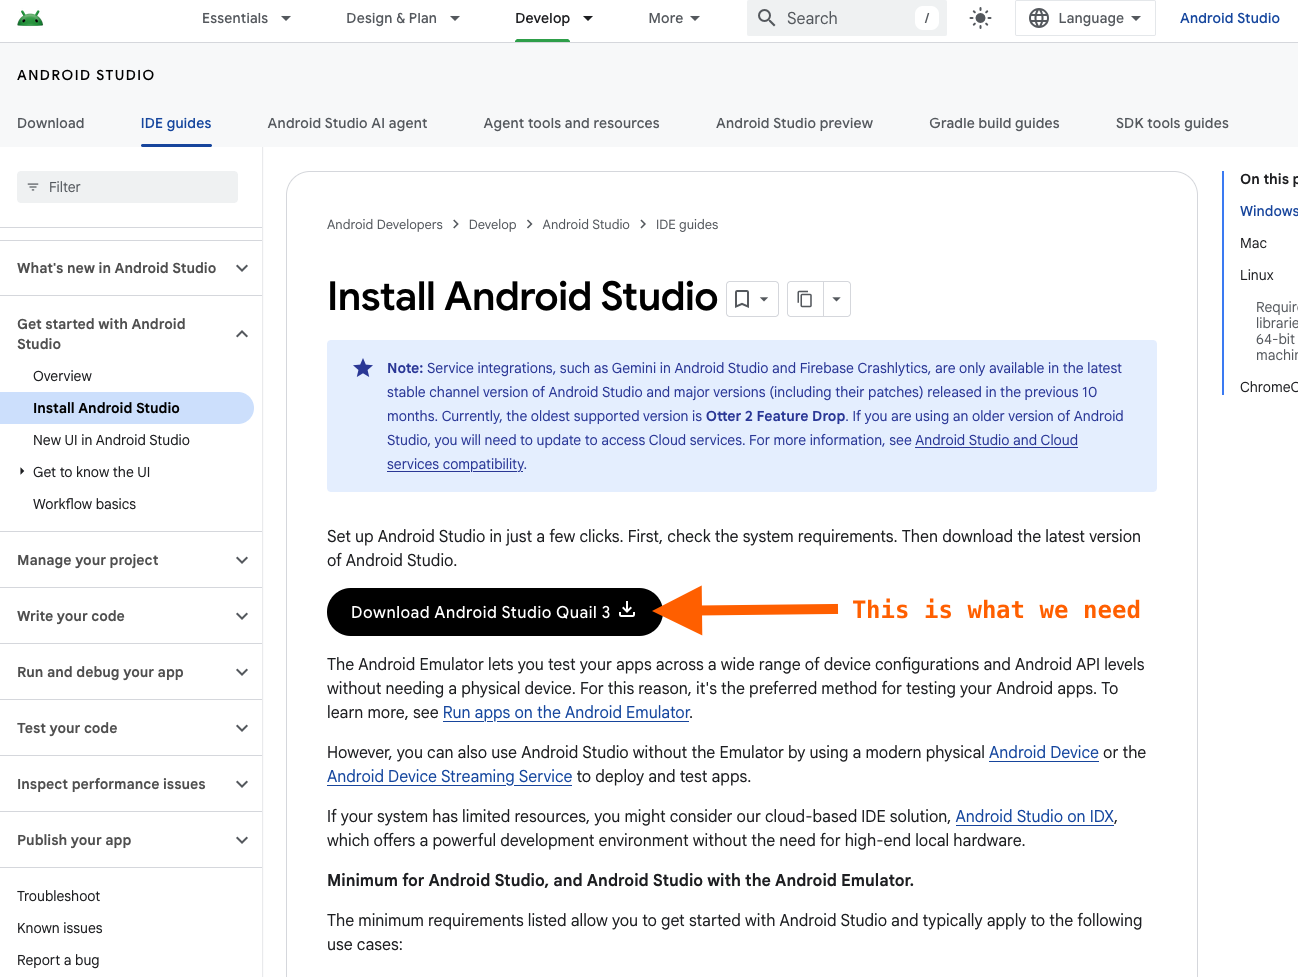
What I did was move it from the Downloads folder (where my browser deposits things) to the home directory to make it easier for me.
mv ~/Downloads/android-studio-*.tar.gz ~/android-studio-*.tar.gzOnce moved, extract it natively inside your home directory
⚠️ "Why the home directory?" → to prevent sandbox constraints again
cd ~ && tar -xzf android-studio-*.tar.gzPS - you might want to remove the archive file now. No one likes clutter.
rm android-studio-*.tar.gzNow we can – finally! – start the app. For now we gotta use the native binary launcher script, but we'll fix that.
~/android-studio/bin/studio.shStep 6: Finalize IDE & Device Configurations
And from here on, everything worked. 😍
I followed the flow and it all went as expected.
Basically what I did was:
- Complete Setup Wizard: Proceed through the graphical setup wizard. I chose the "Standard" setup.
⚠️ one thing to note here is that it at some point the wizard tells you to "Configure VM acceleration on Linux" and if you followed this guide you can safely ignore it, because we've already covered those in steps 1 through 3.
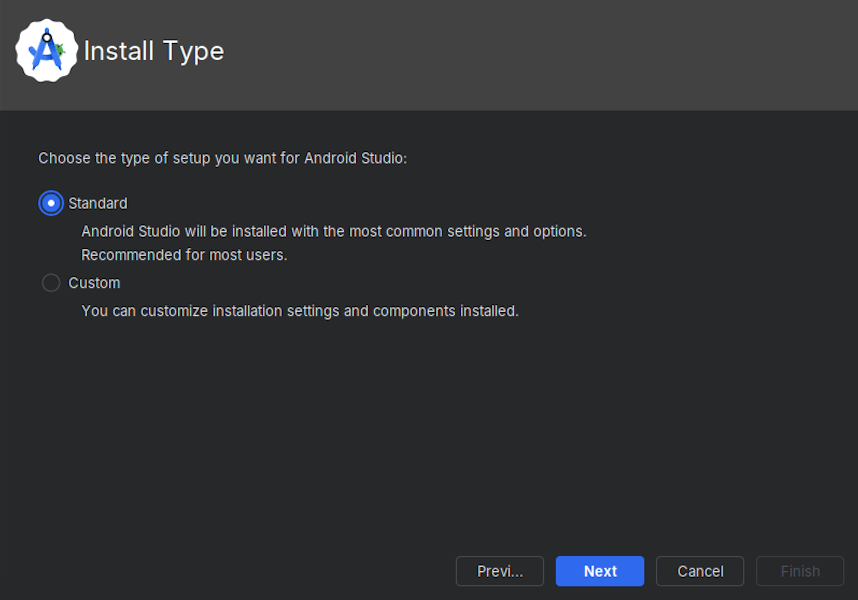
Create Desktop Shortcut: Once at the welcome dashboard, click More Actions (three dots) -> Create Desktop Entry. This links Android Studio into Fedora's application launcher grid and allows pinning to your system Dock.
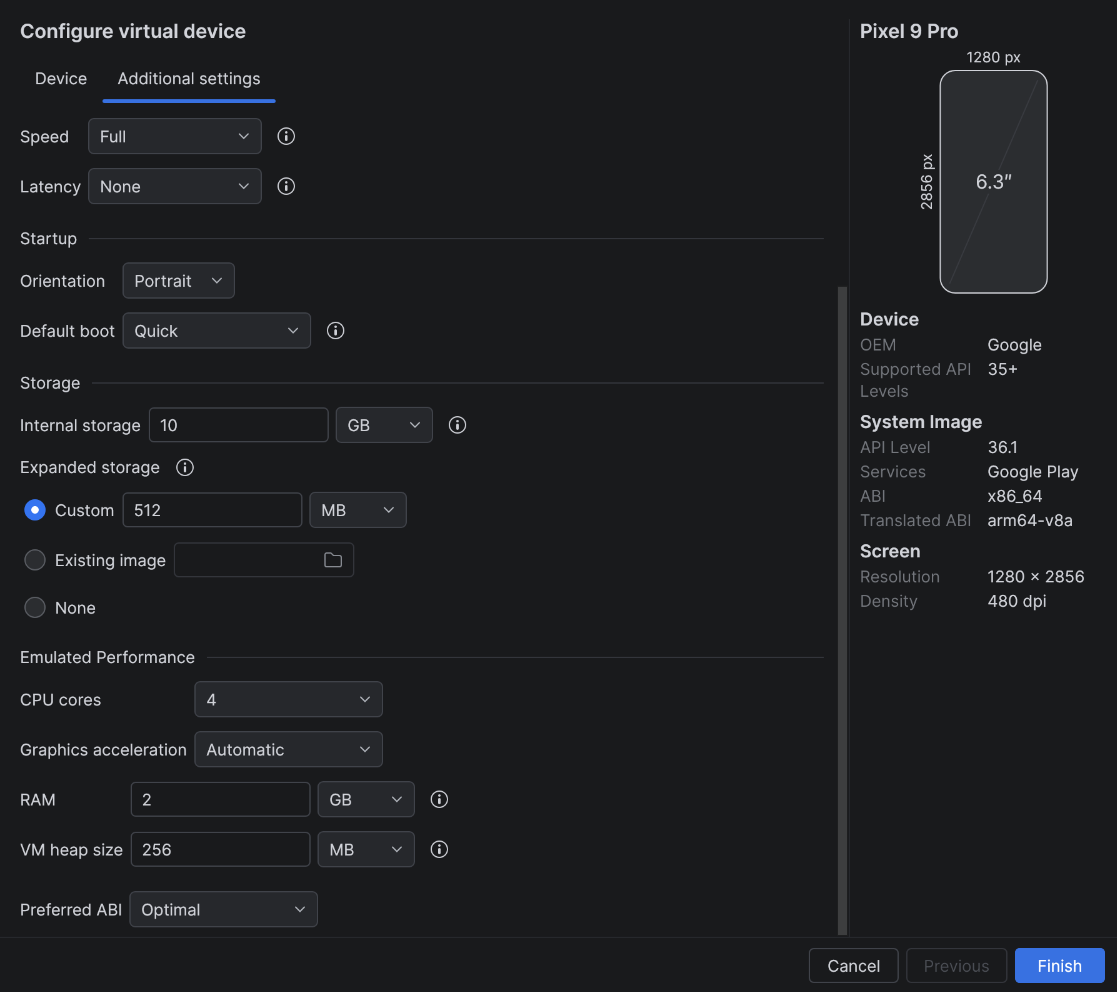
Configure Virtual Device: Open the Virtual Device Manager, click Create Virtual Device, select a hardware template (e.g., Pixel 9 Pro), and choose a standard production x86_64 image to leverage your full KVM hardware speed. You can see my emulator config below.
Emulator: Device Settings
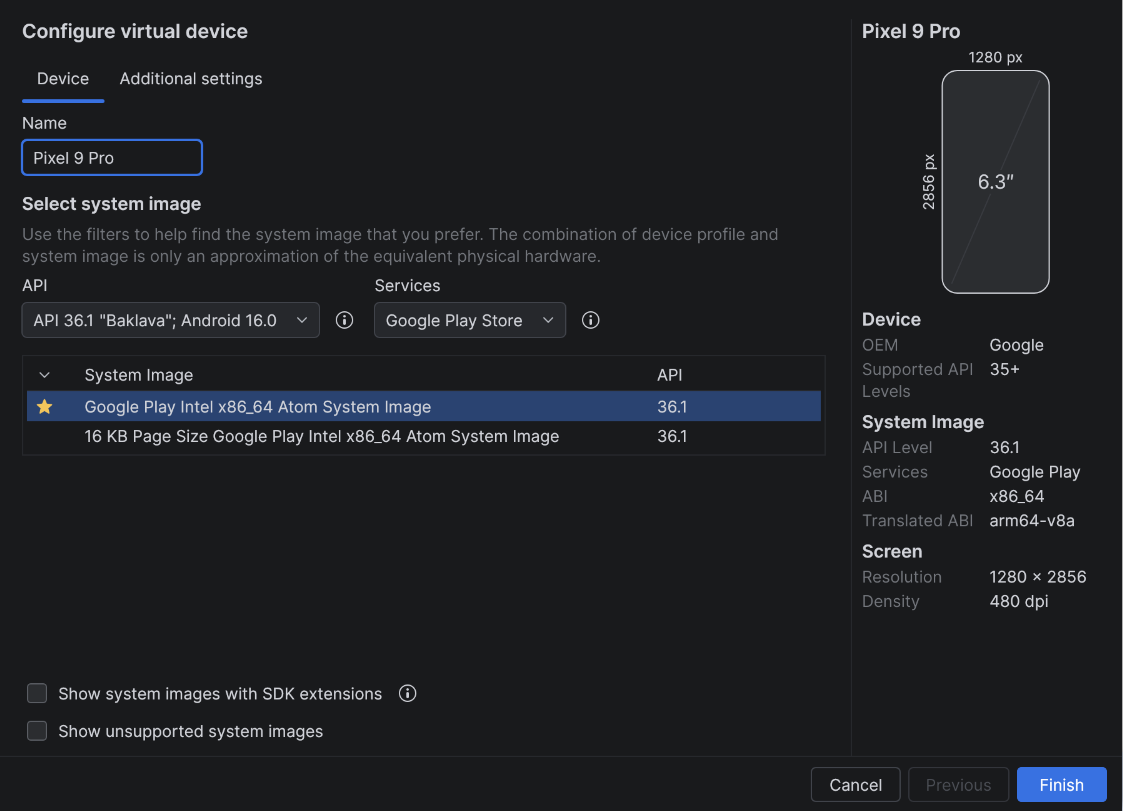
Emulator: Additional Settings
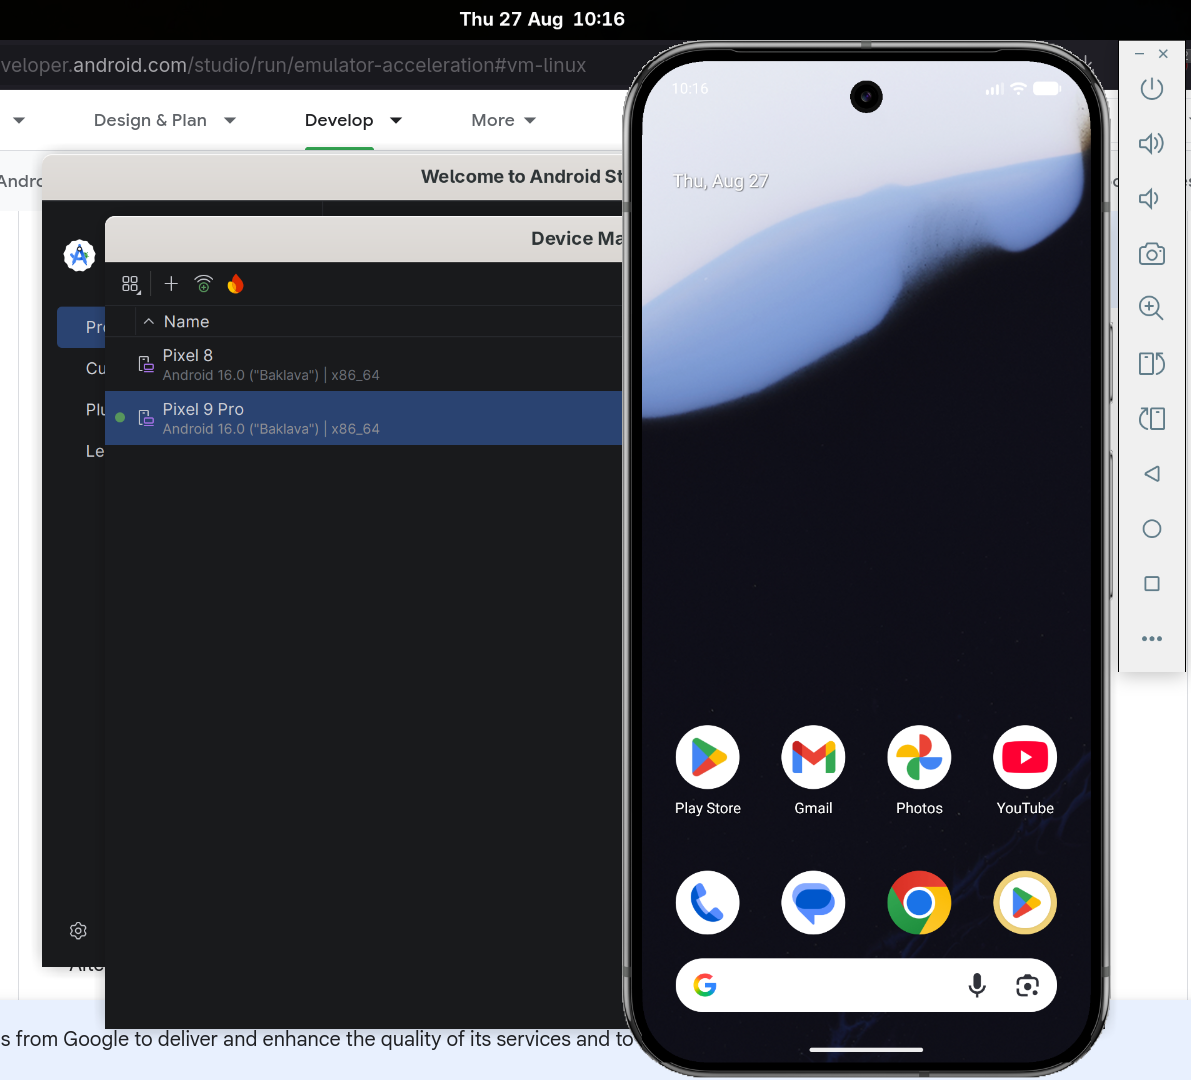
And the best part of all:
IT WORKS!!!
I hope this helps someone else out there.